Back in 2008, I built an “Err” sign for a friend using Peggy, an hardware electronics kit by Evil Mad Scientist that provides a programmable LED matrix.
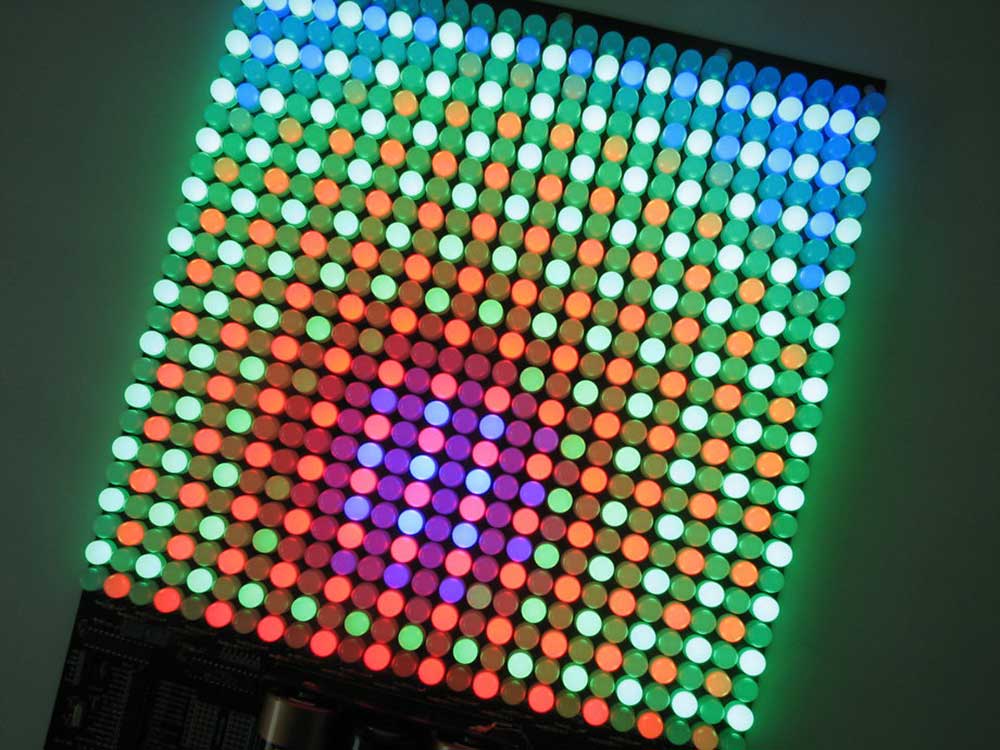
Their most recent “Peggy 2” board is even Arduino-based! — For those not familiar, Arduino is an open-source hardware and software prototyping platform with a USB interface, enabling you to write code to control each LED individually in a familiar way.
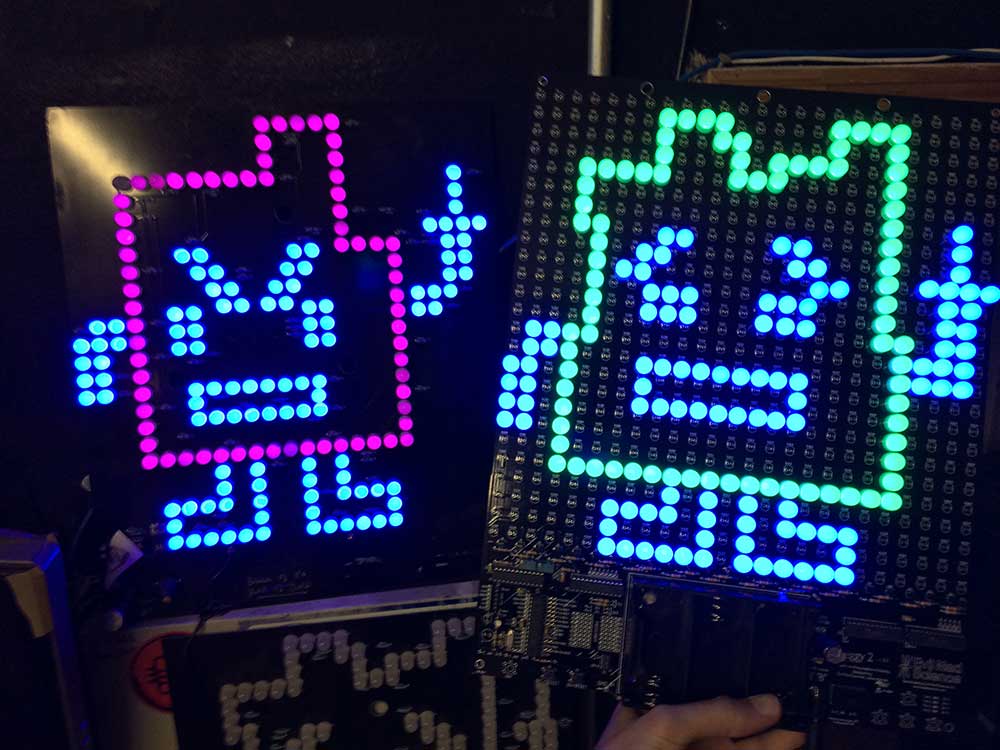
My project this time was to build some wall art for my new apartment: “Ignignokt,” the first of the two “Mooninites” from Aqua Teen Hunger Force.
The origin of the design
But, what was the origin of these signs and their unique design?
In early 2007, as a marketing stunt for the Aqua Teen Hunger Force film, several of these LED signs were installed in 10 different US cities, nationwide. — However, this promotion literally “bombed” when someone called in a bomb-scare over one of the signs being “suspiciously” mounted to the underside of a highway overpass in Boston, MA. 💣
The signs had already received attention on the internet, but after this event… they began to appear on eBay for as much as $5,000 USD! 😱
The build
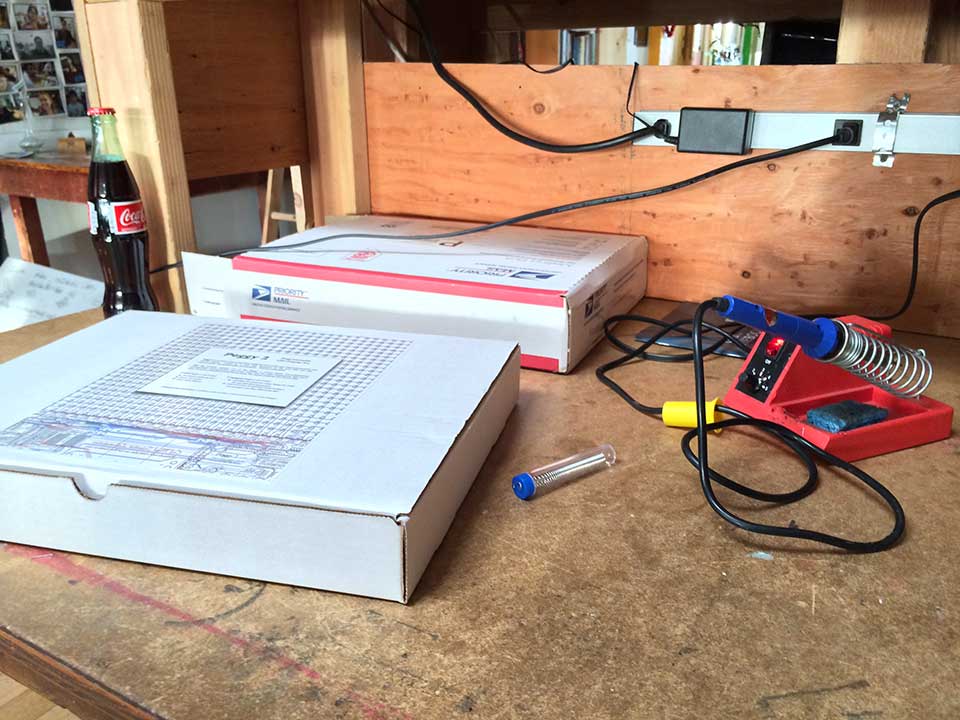
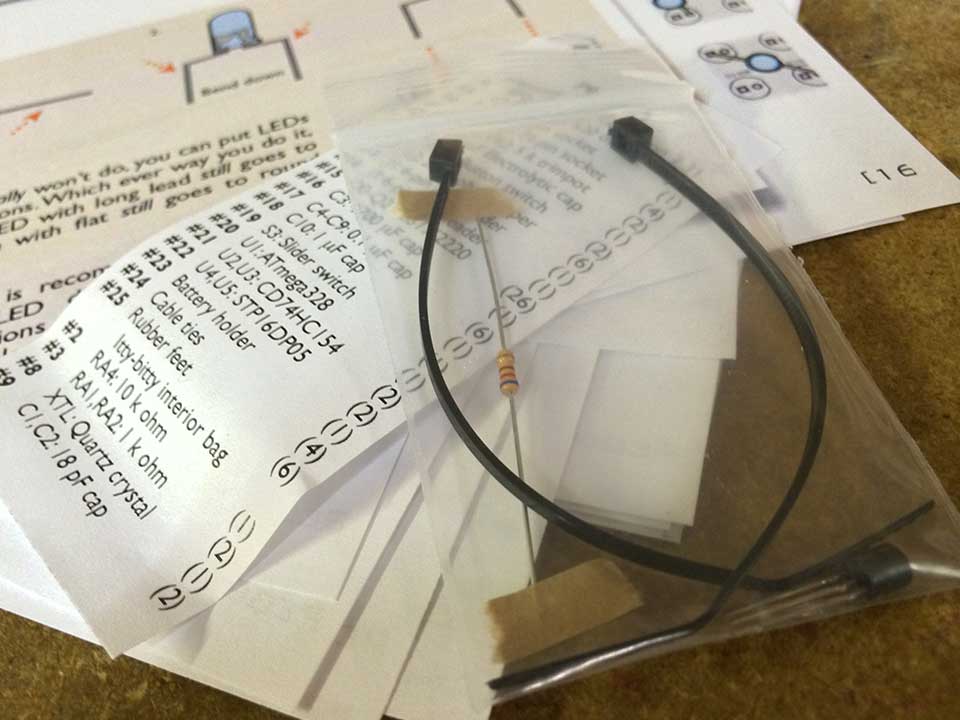
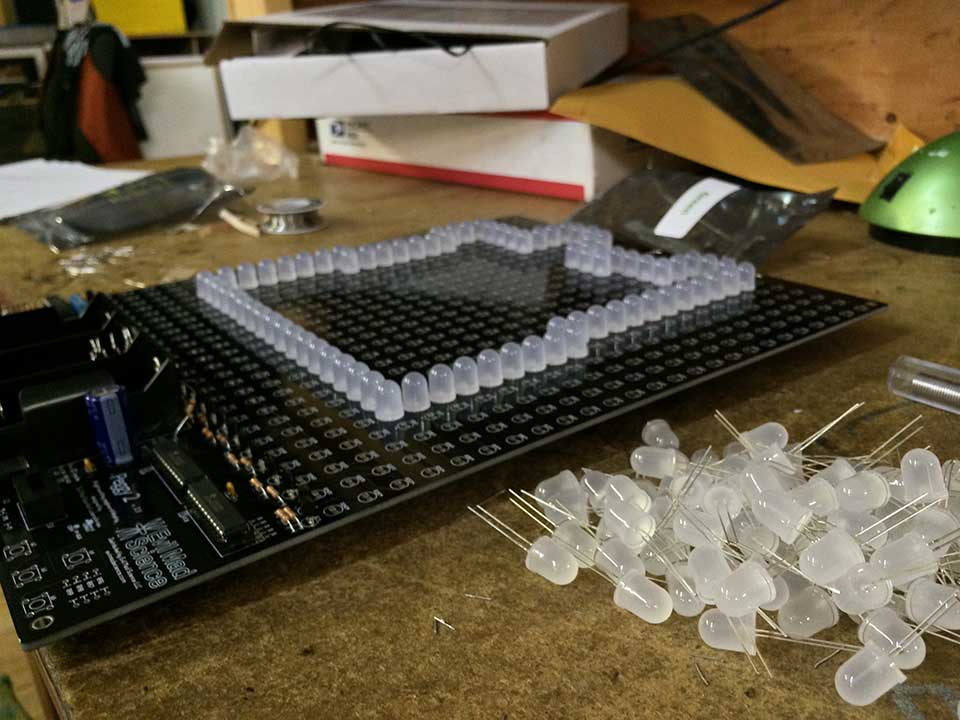
My actual build of “Ignignokt” took place yesterday at Noisebridge, a workspace in San Francisco that's open 24/7 to hardware hackers and enthusiasts. The parts had arrived earlier that day, and after a few hours… I had already completed the build! — You'll need moderate soldering and electrical skills, and also some patience… especially for this particular design, as some of its LEDs sit between the points on the provided 25 x 25 LED matrix.
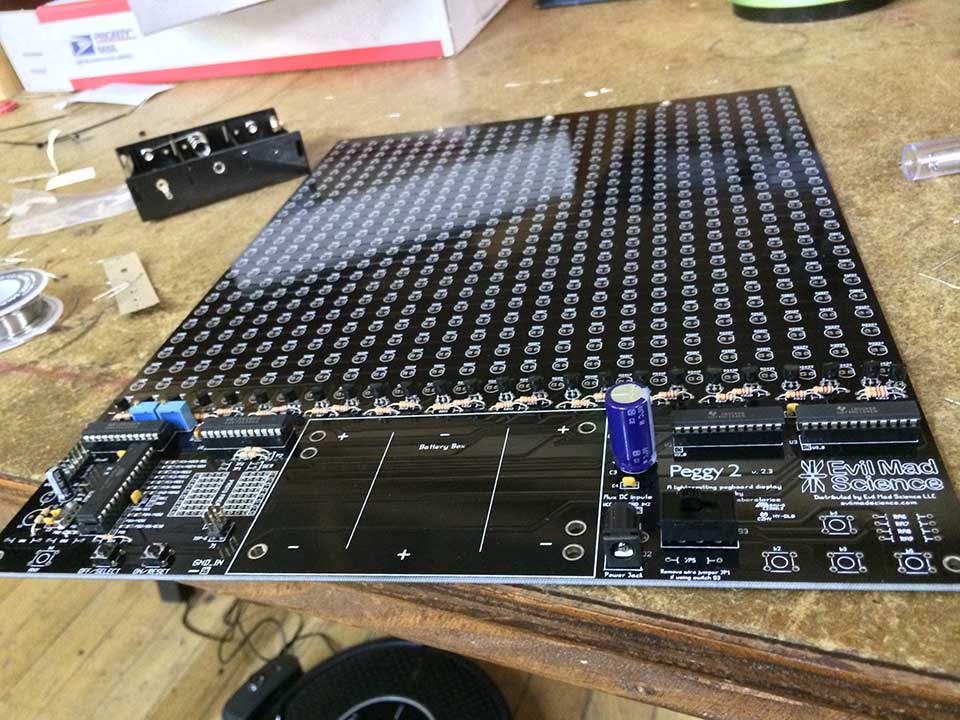
The board and its components are more attractive on this “Peggy 2” version, compared to that of the original “Peggy” boards. — There is better symmetry to the circuit layout, and more intricacy. The pins for optional USB configuration are readily accessible from the front of the board, and it still has rubber feet on the back to help shield against short-circuits. (And, to help protect your walls from scratches from the solder points!)
Overall, Peggy 2 is fun to work with and a cool creative outlet. I look forward to building more with both Arduino and Peggy in the future!
It was great meeting some of the folks at Noisebridge, too, which also hosts a weekly “Circuit Hacking” events for beginners. — Check this out if you're in San Francisco and new to electronics, and check out the latest version of Peggy if you're looking for something cool to tinker with!