When I first fully switched to iPhone back in 2010, one of the features I immediately missed most from my BlackBerry was the ability to set a lock screen message for the device.
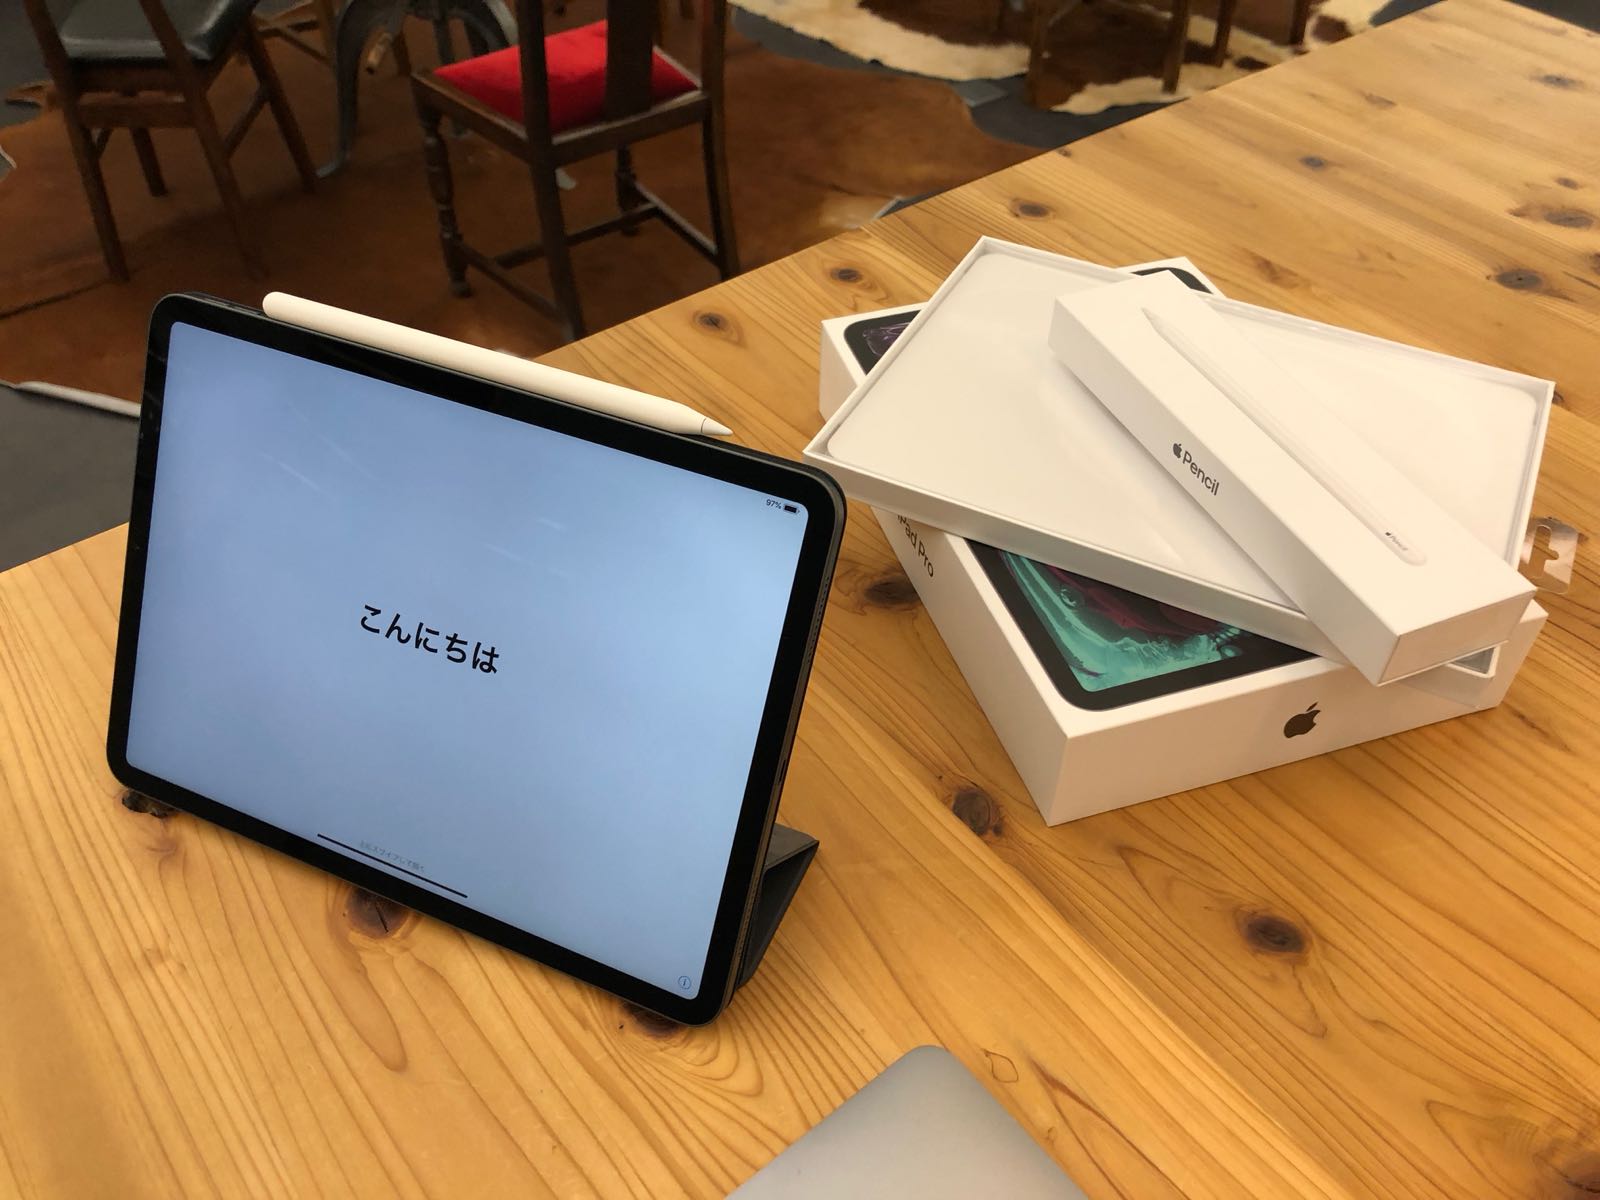
Essentially this lets you print a sentence or two of text that appears after you turn it on but before you unlock it, such as your name and an alternate phone number, in case you lose the device or if it gets mixed up with someone else's, as shown below:

… Well, there's a hidden way to have this on iOS, too! 😃
Requirements and past alternatives
Apple makes doing this fairly cumbersome on a personal device unless you're willing to erase it beforehand. My assumption is that this is probably to avoid upsetting the iPhone's simple visual design language… which certainly doesn't consist of random emoji-ridden text on the otherwise elegant default wallpapers that ship with each device. 😅
Before this was even possible on a system level, you'd previously had to actually embed the text yourself into your device's wallpaper (which of course you are free to customize), or just omit it altogether unless using Find My iPhone to display a message temporarily if the phone is remotely disabled.
So, how do you do it? With Apple Configurator! …And, does it support emoji? Of course! (Which is good, because there's limited horizontal space… depending on which device you have.) — The caveat, though, is that a lock screen message can only be first added to a device that hasn't been setup yet (or that you can safely erase), and you must have a Mac that's running a fairly recent version of macOS in order to install the latest Apple Configurator version from the Mac App Store.
Walkthrough
Warning: Proceed at your own risk. You'll need to have a new or freshly-erased iOS device that has not gone past the “Hello” screen that appears on first boot! — Yes, it is possible to restore from a backup, but once you have left this screen on the device, you'll need to erase the device again in order to proceed with this walkthrough.
On Black Friday this year, I was able to grab an 11-inch iPad Pro (2018) for a discount with the help of a friend. Glowing about the potential of being able to replace all of the paper notebooks and blah-blah pens in my work bag with a digital surface and an inkless drawing device, I'd checked out the tablet the day prior at an Apple Store, and ended up going for it. While my keyboard case still hasn't arrived yet (it's out of stock locally 😢), I still ended up writing this blog post on it without much trouble!️
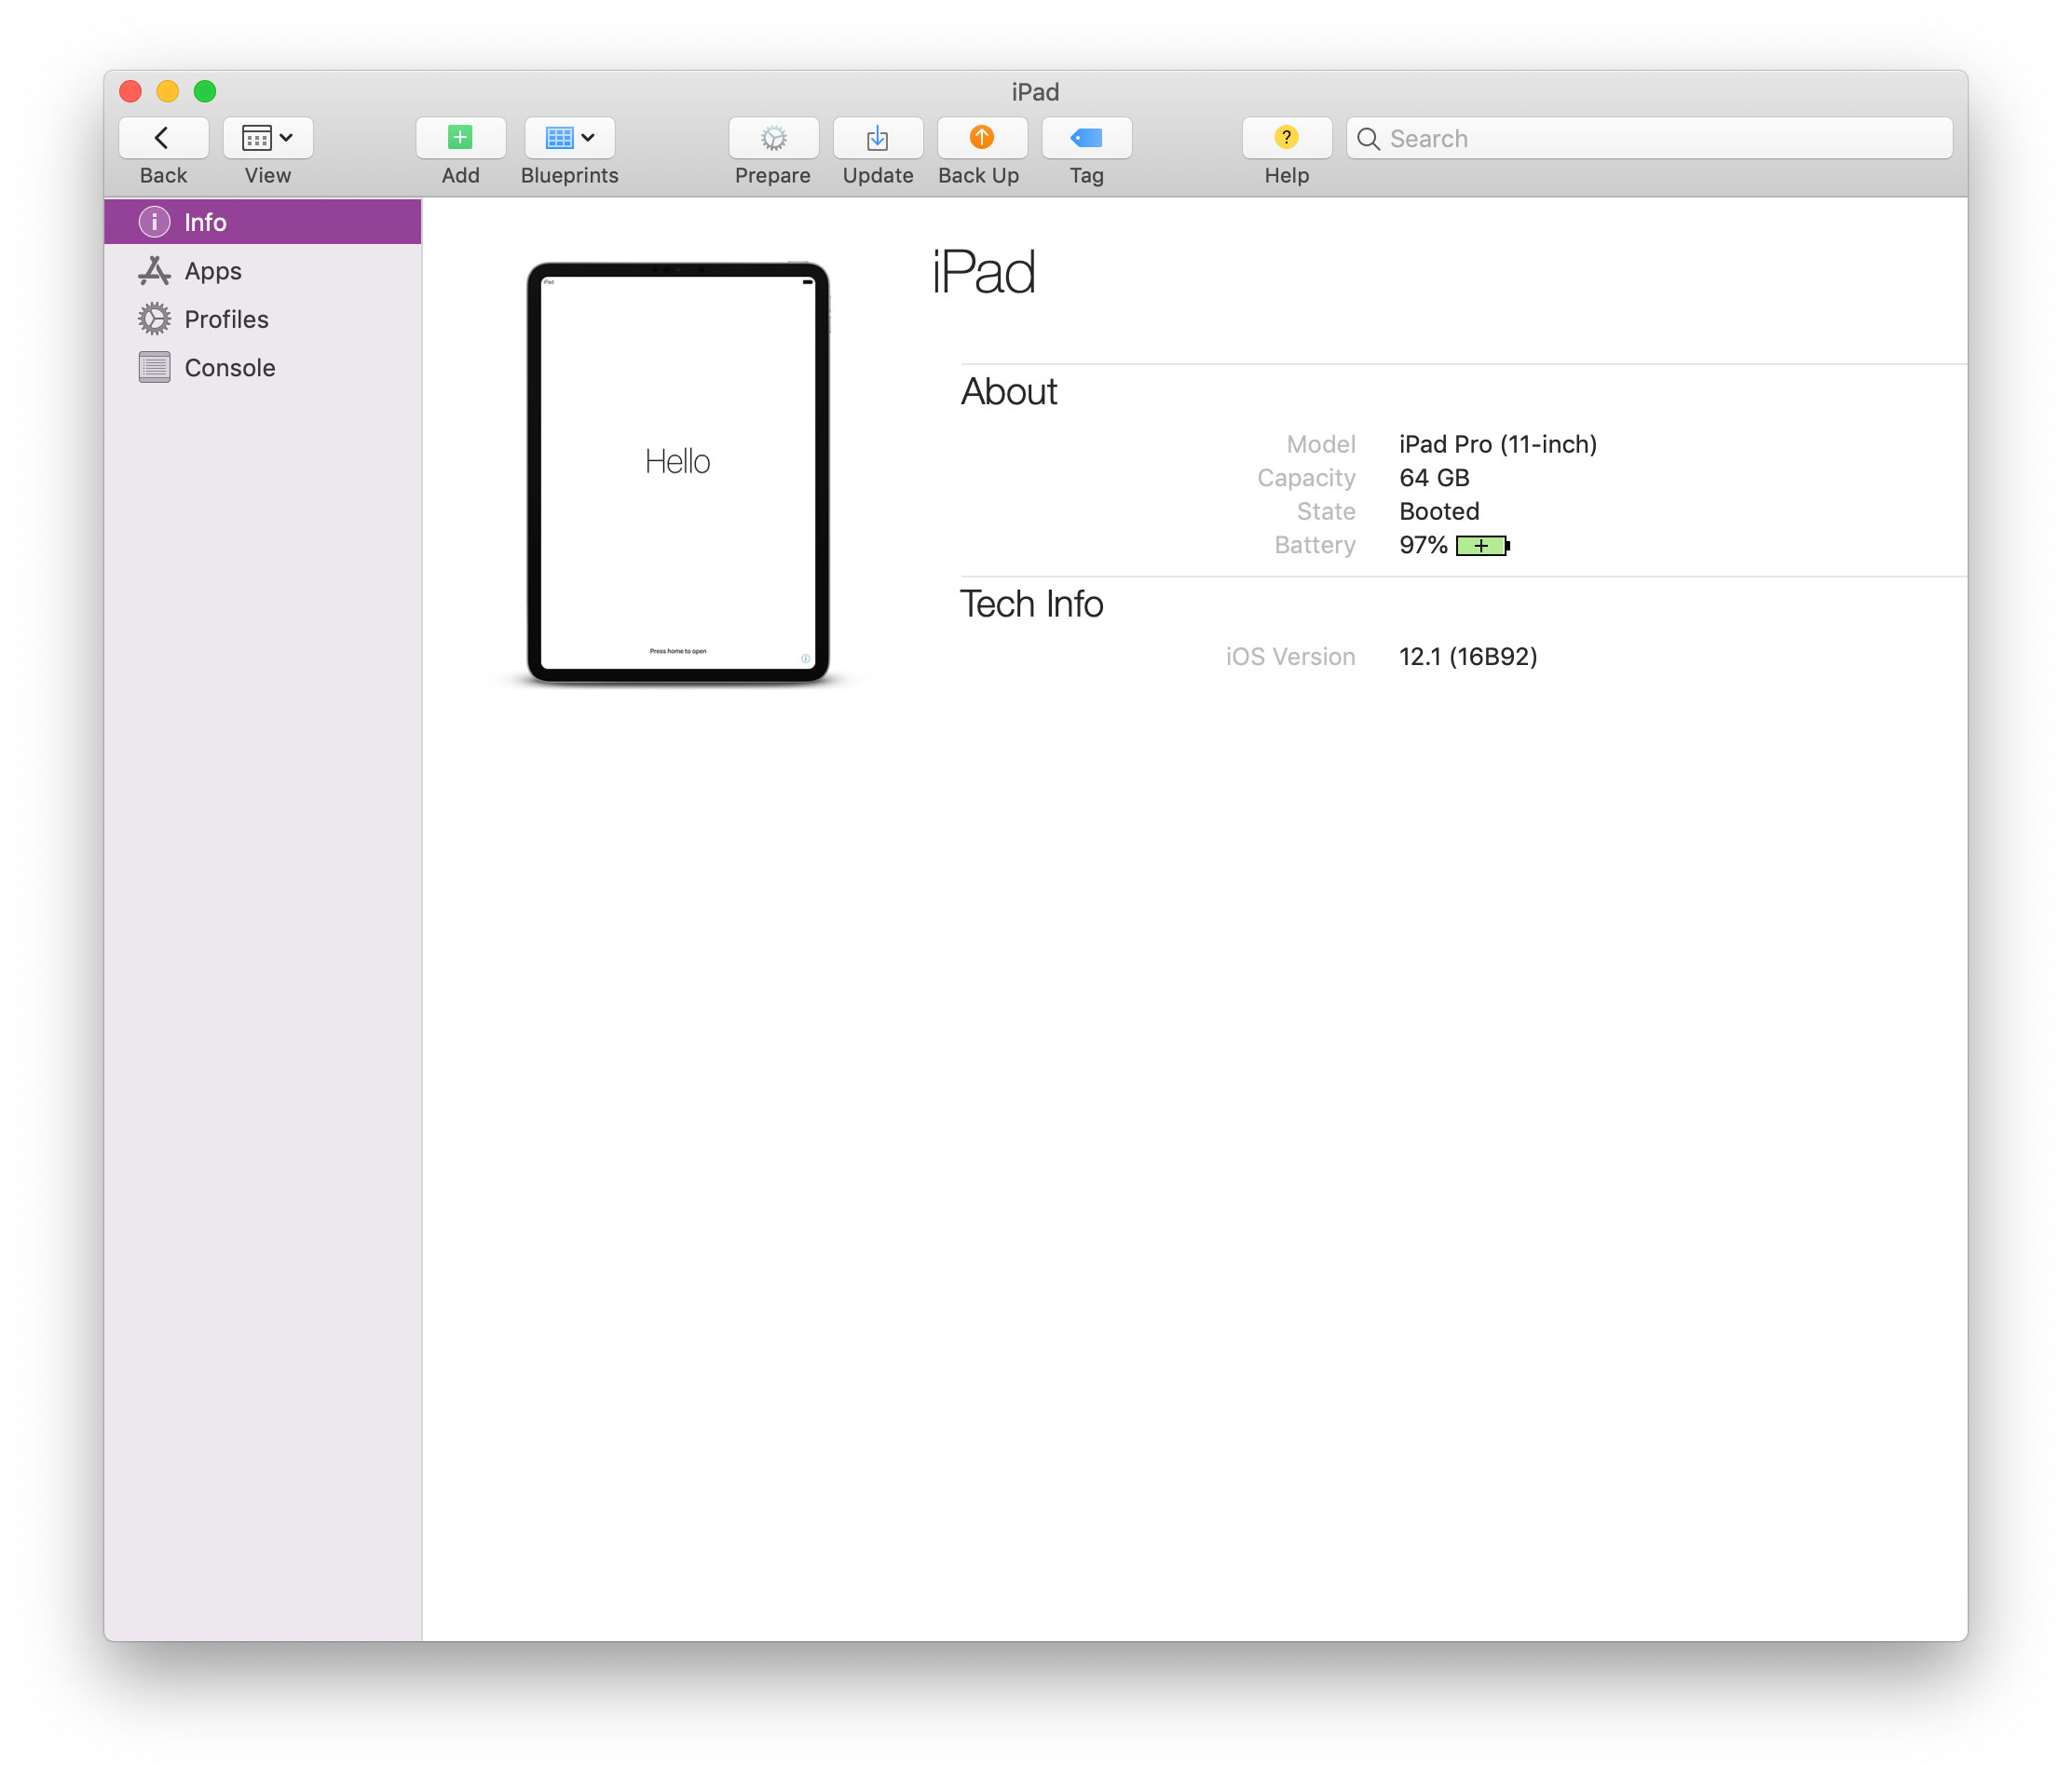
Step 1: Power up, but pause at “Hello” and go no further!
To start, turn on your new or freshly-erased iOS device if it's powered off.
If you don't see the “Hello” screen that first appears when setting a device up from scratch, or if you've previously moved past this screen, you'll need to first backup your device and erase it. Proceed with caution and at your own risk.
Step 2: Connect to Mac via USB, and restore data from a backup if necessary.
Once you're at the “Hello” setup screen of the iPhone or iPad, open Apple Configurator on your Mac with the device attached via USB.
If you need to restore a backup using iTunes or Apple Configurator, do this from your Mac before proceeding to the next step and before moving past the “Hello” screen. — You'll probably want to quit Apple Configurator and use iTunes to restore the backup instead, because, at this time of writing, Apple Configurator will not restore your apps… but iTunes will.
You can quit iTunes when the restore completes and the phone is automatically rebooting, and when you restart iTunes again later, all previously synced content will begin to transfer automatically! 👍🏻
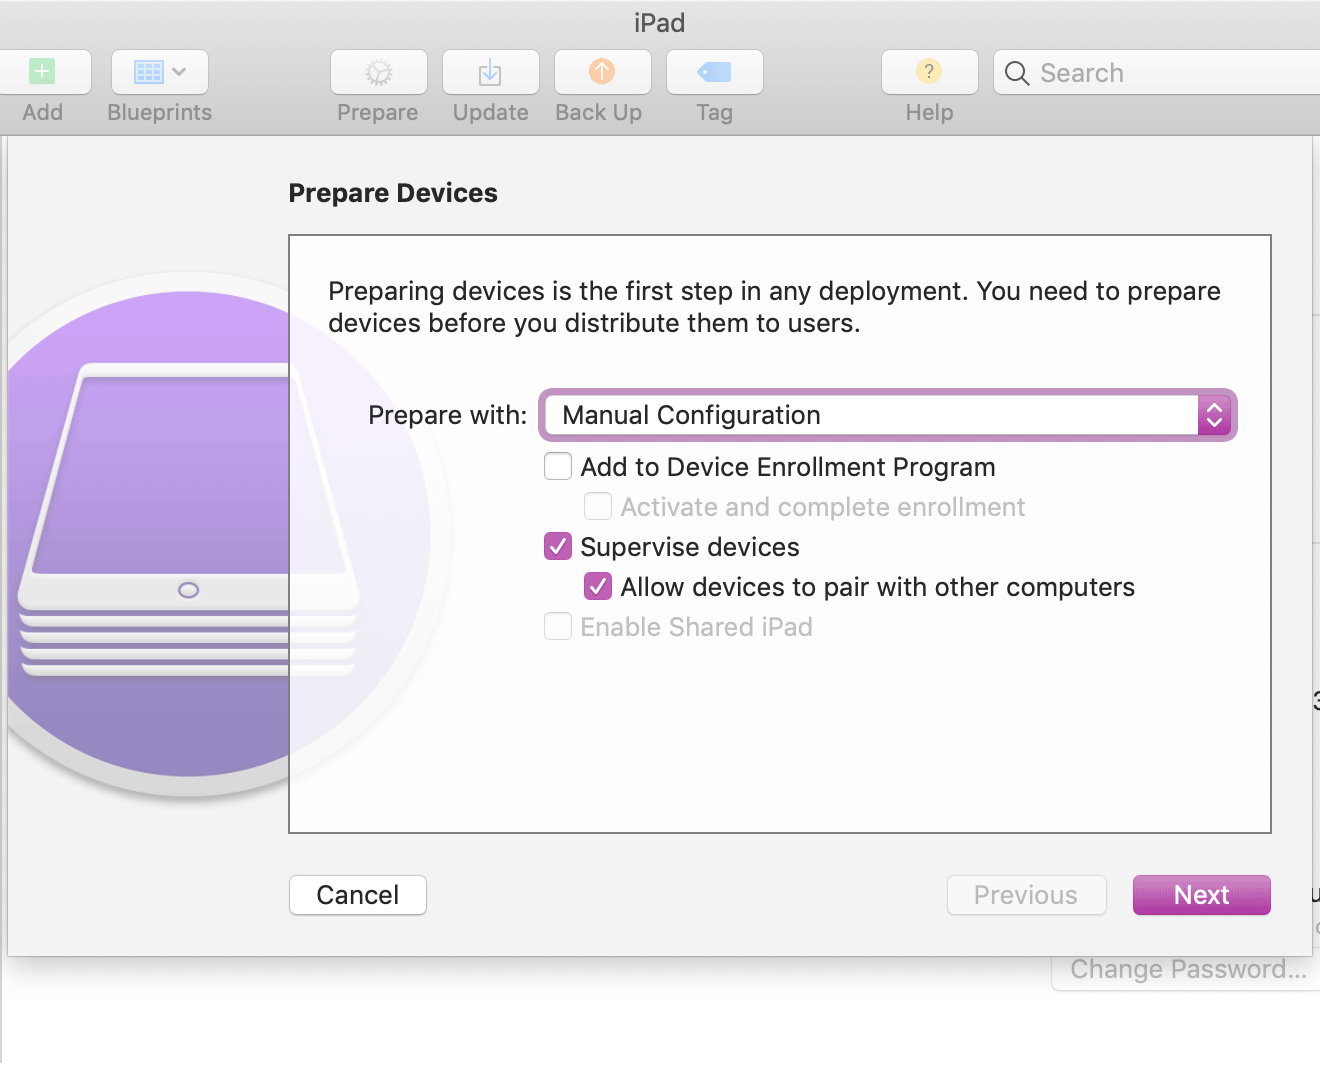
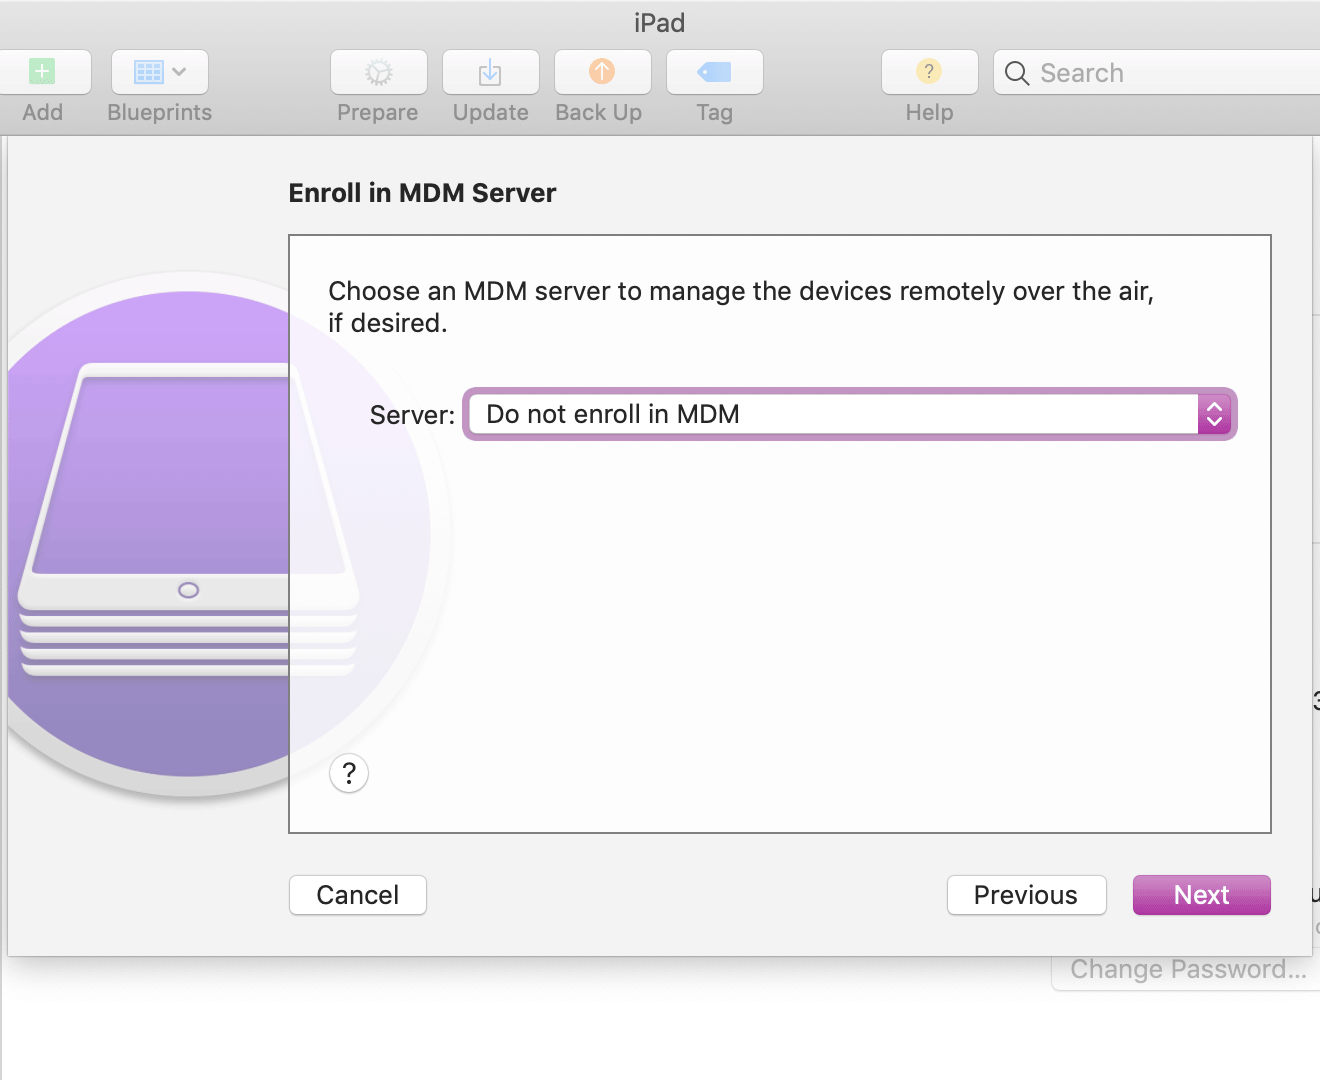
Step 3: “Prepare” and “supervise” the device using Apple Configurator
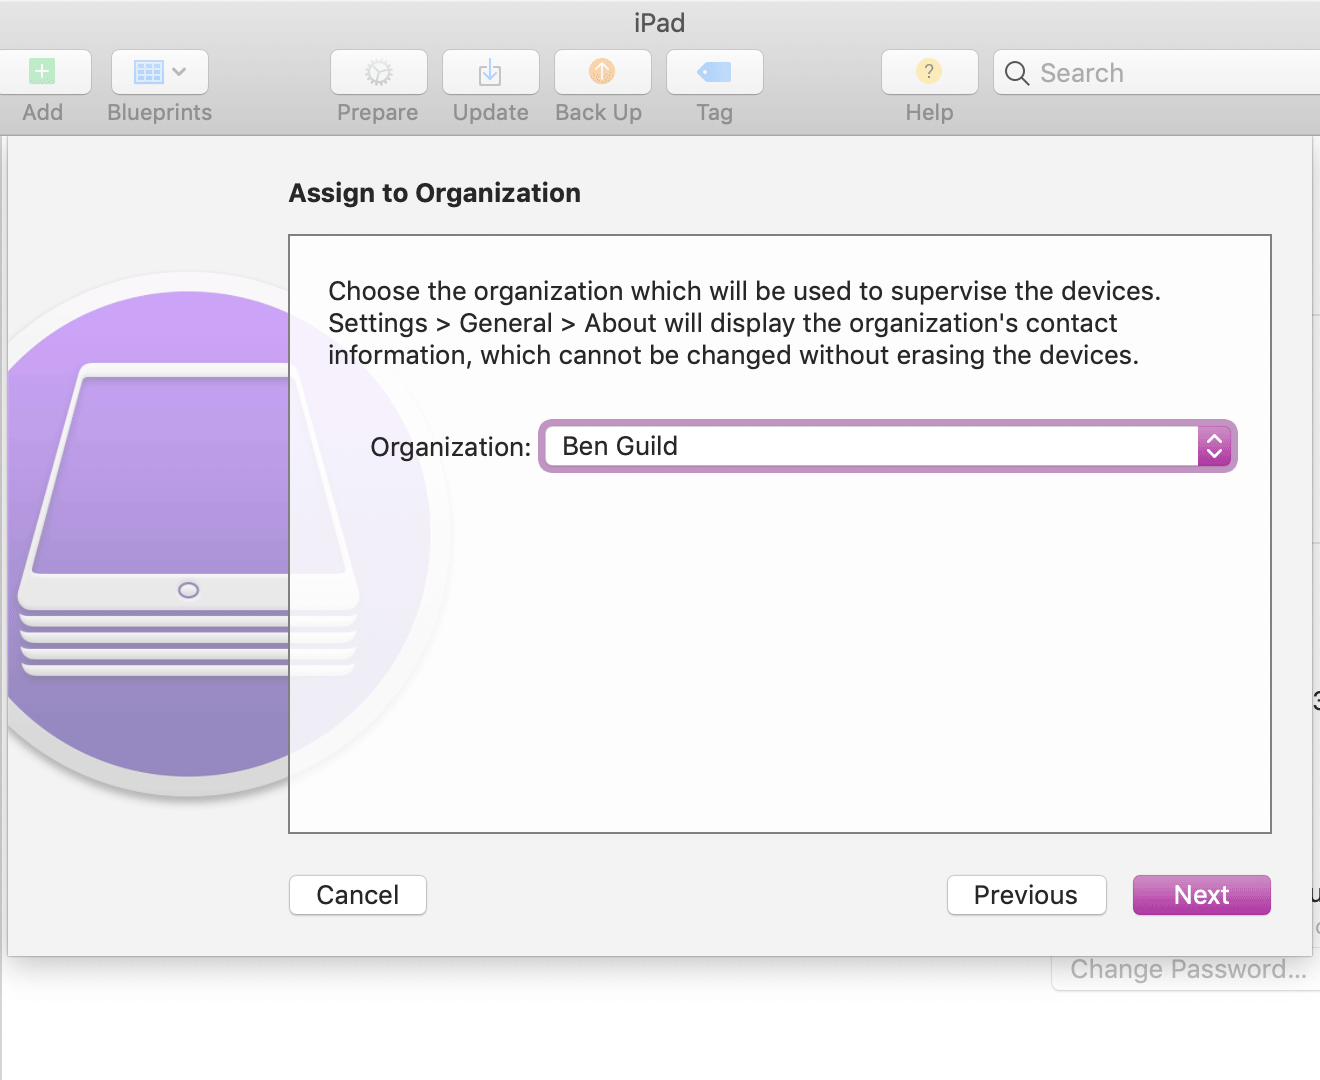
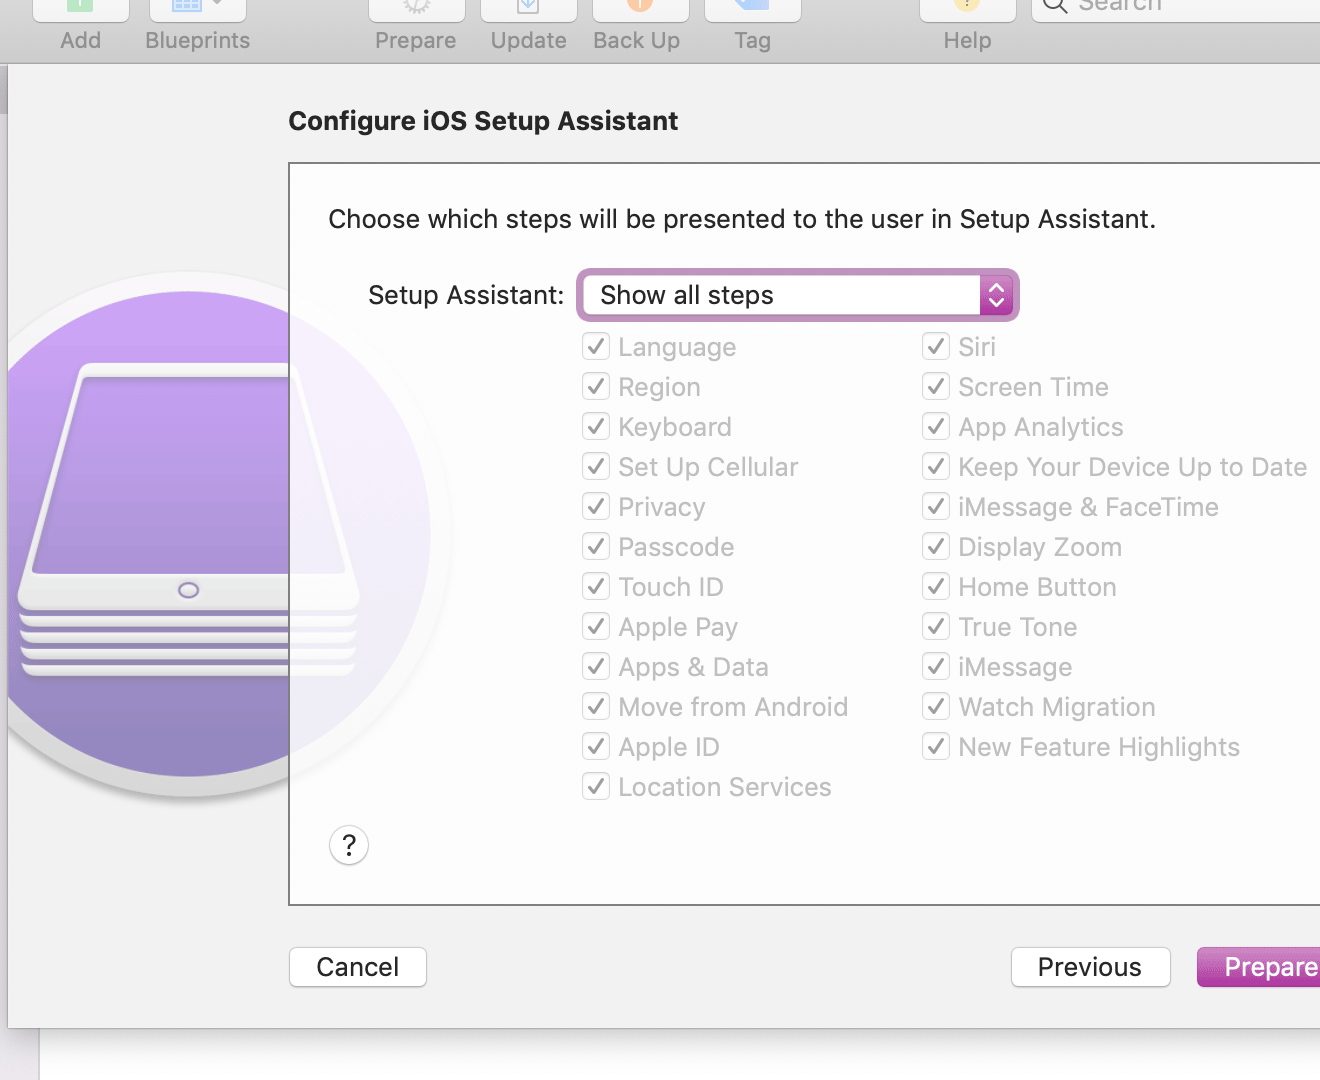
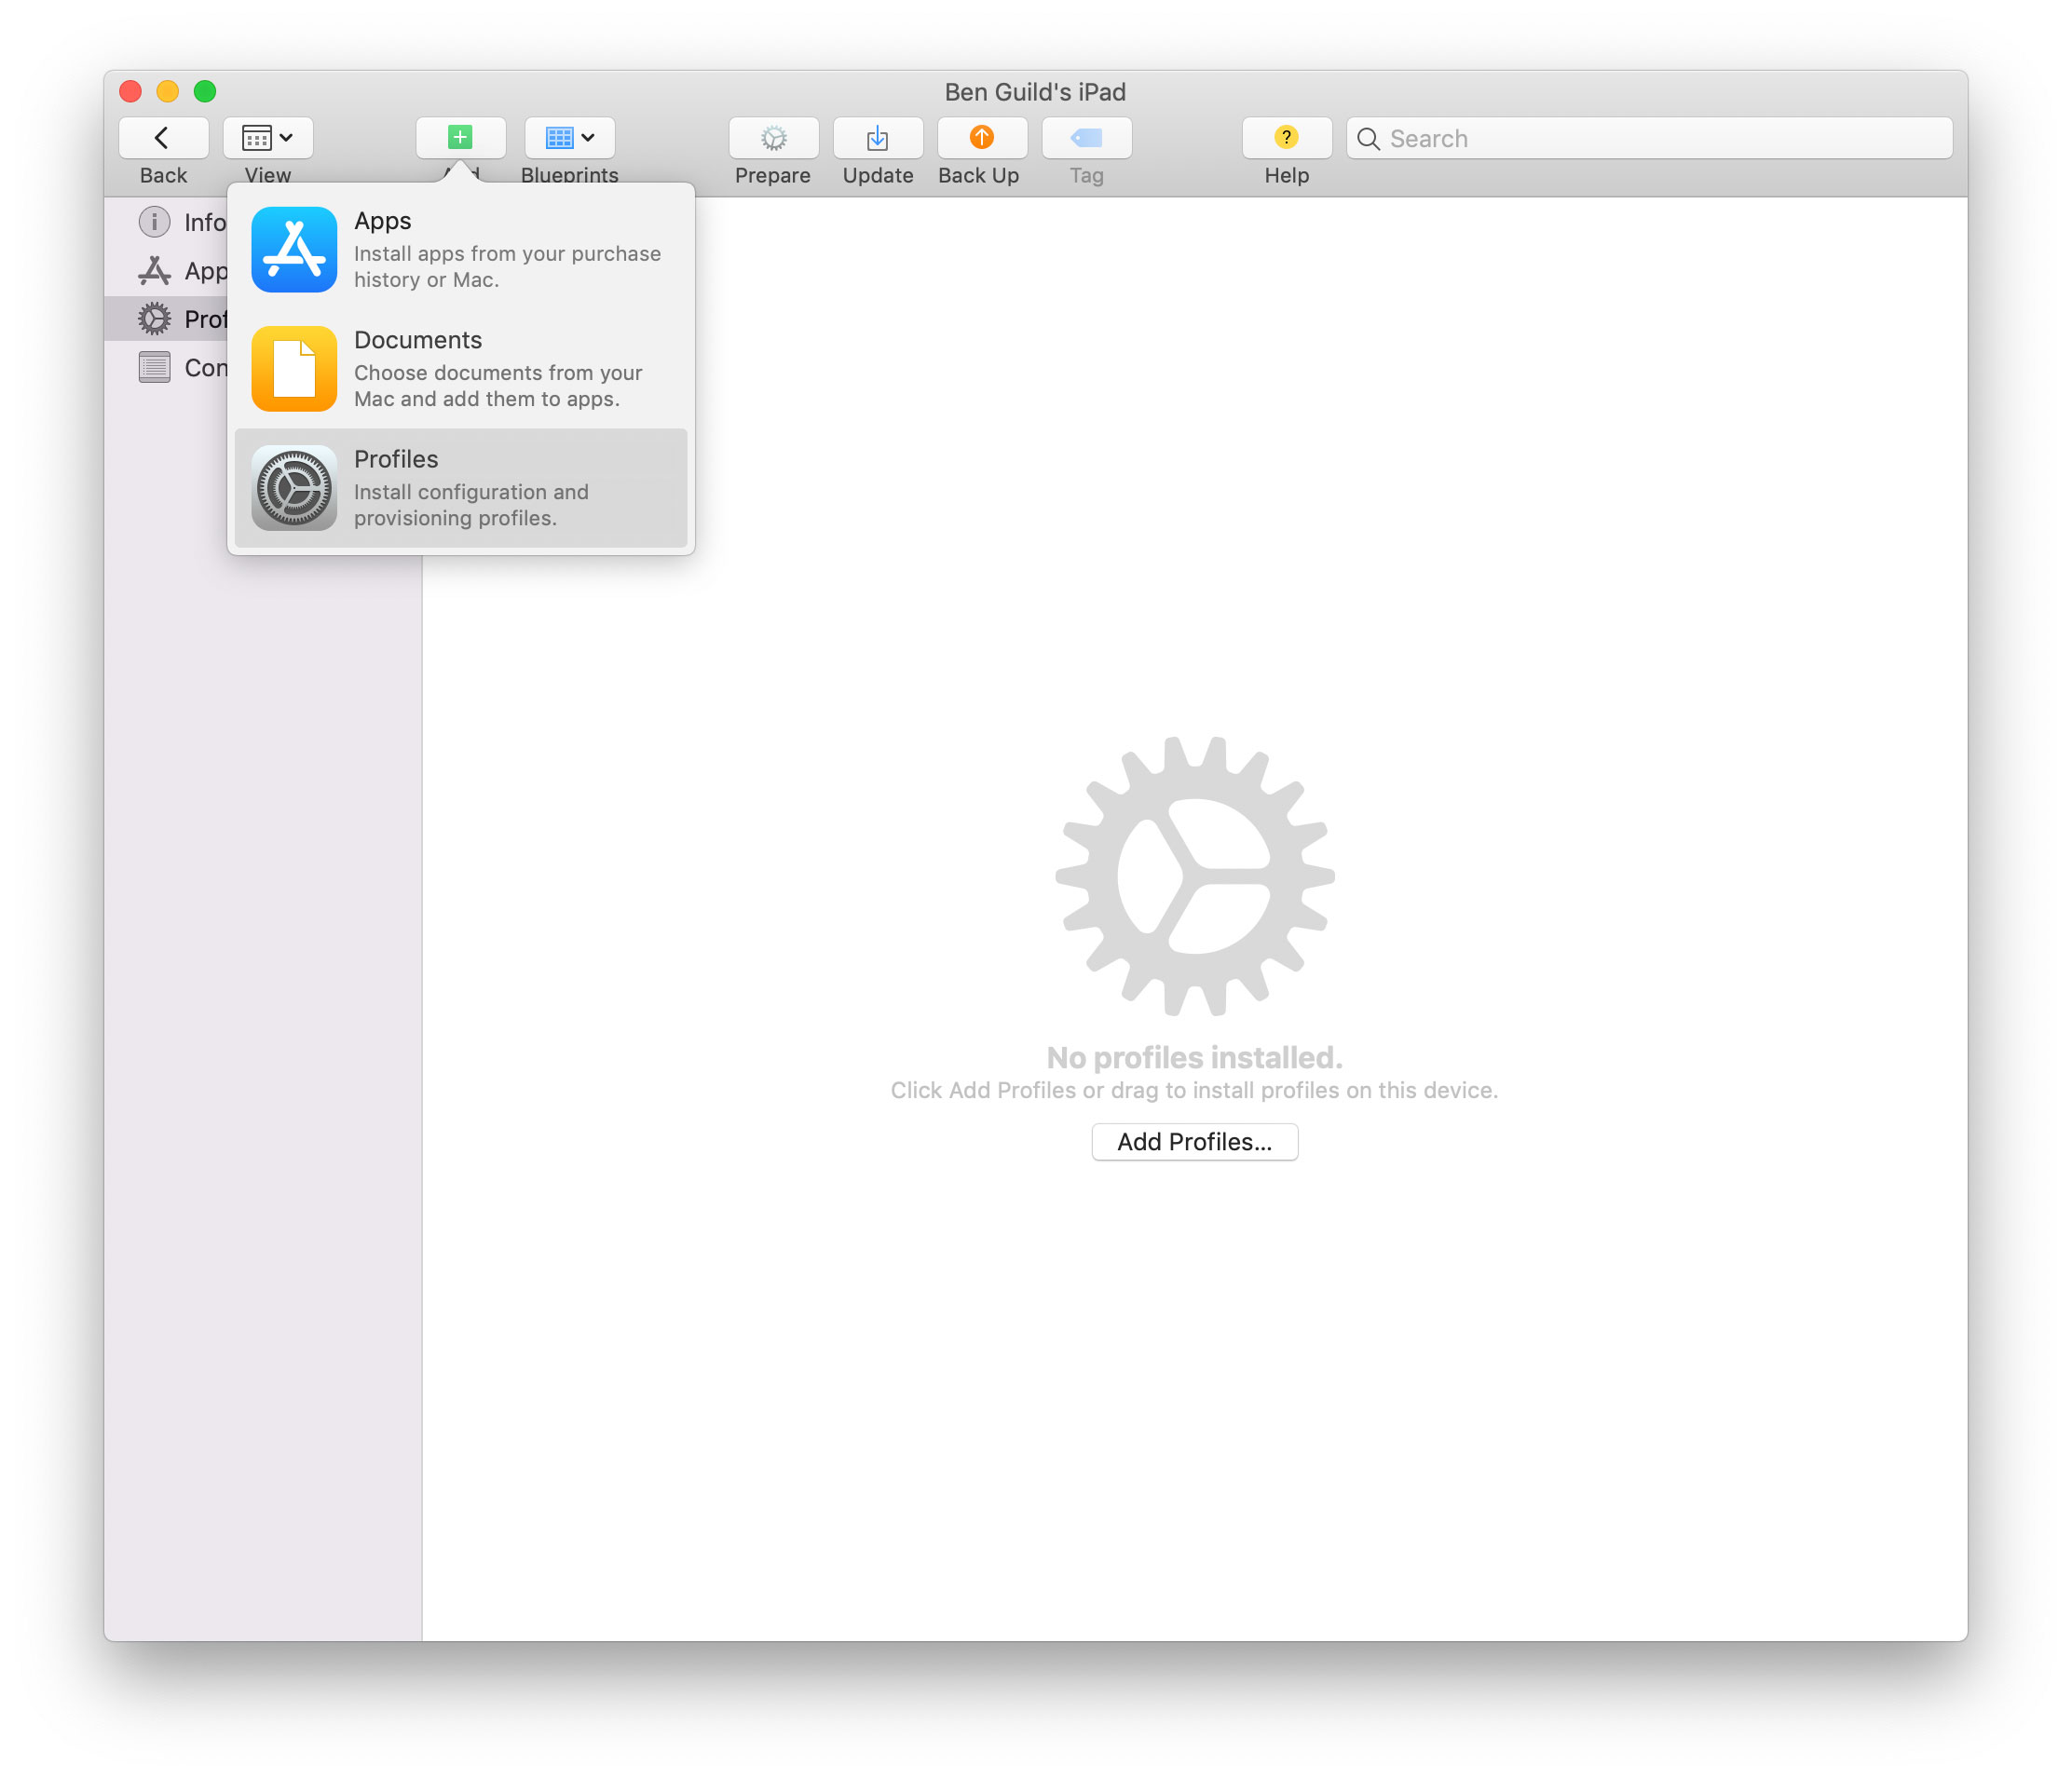
Tap the button to “Prepare” the device in the toolbar at the top of Apple Configurator on your Mac, and follow the steps illustrated below to “supervise” it.
Step 4: Create your “lock screen message” profile
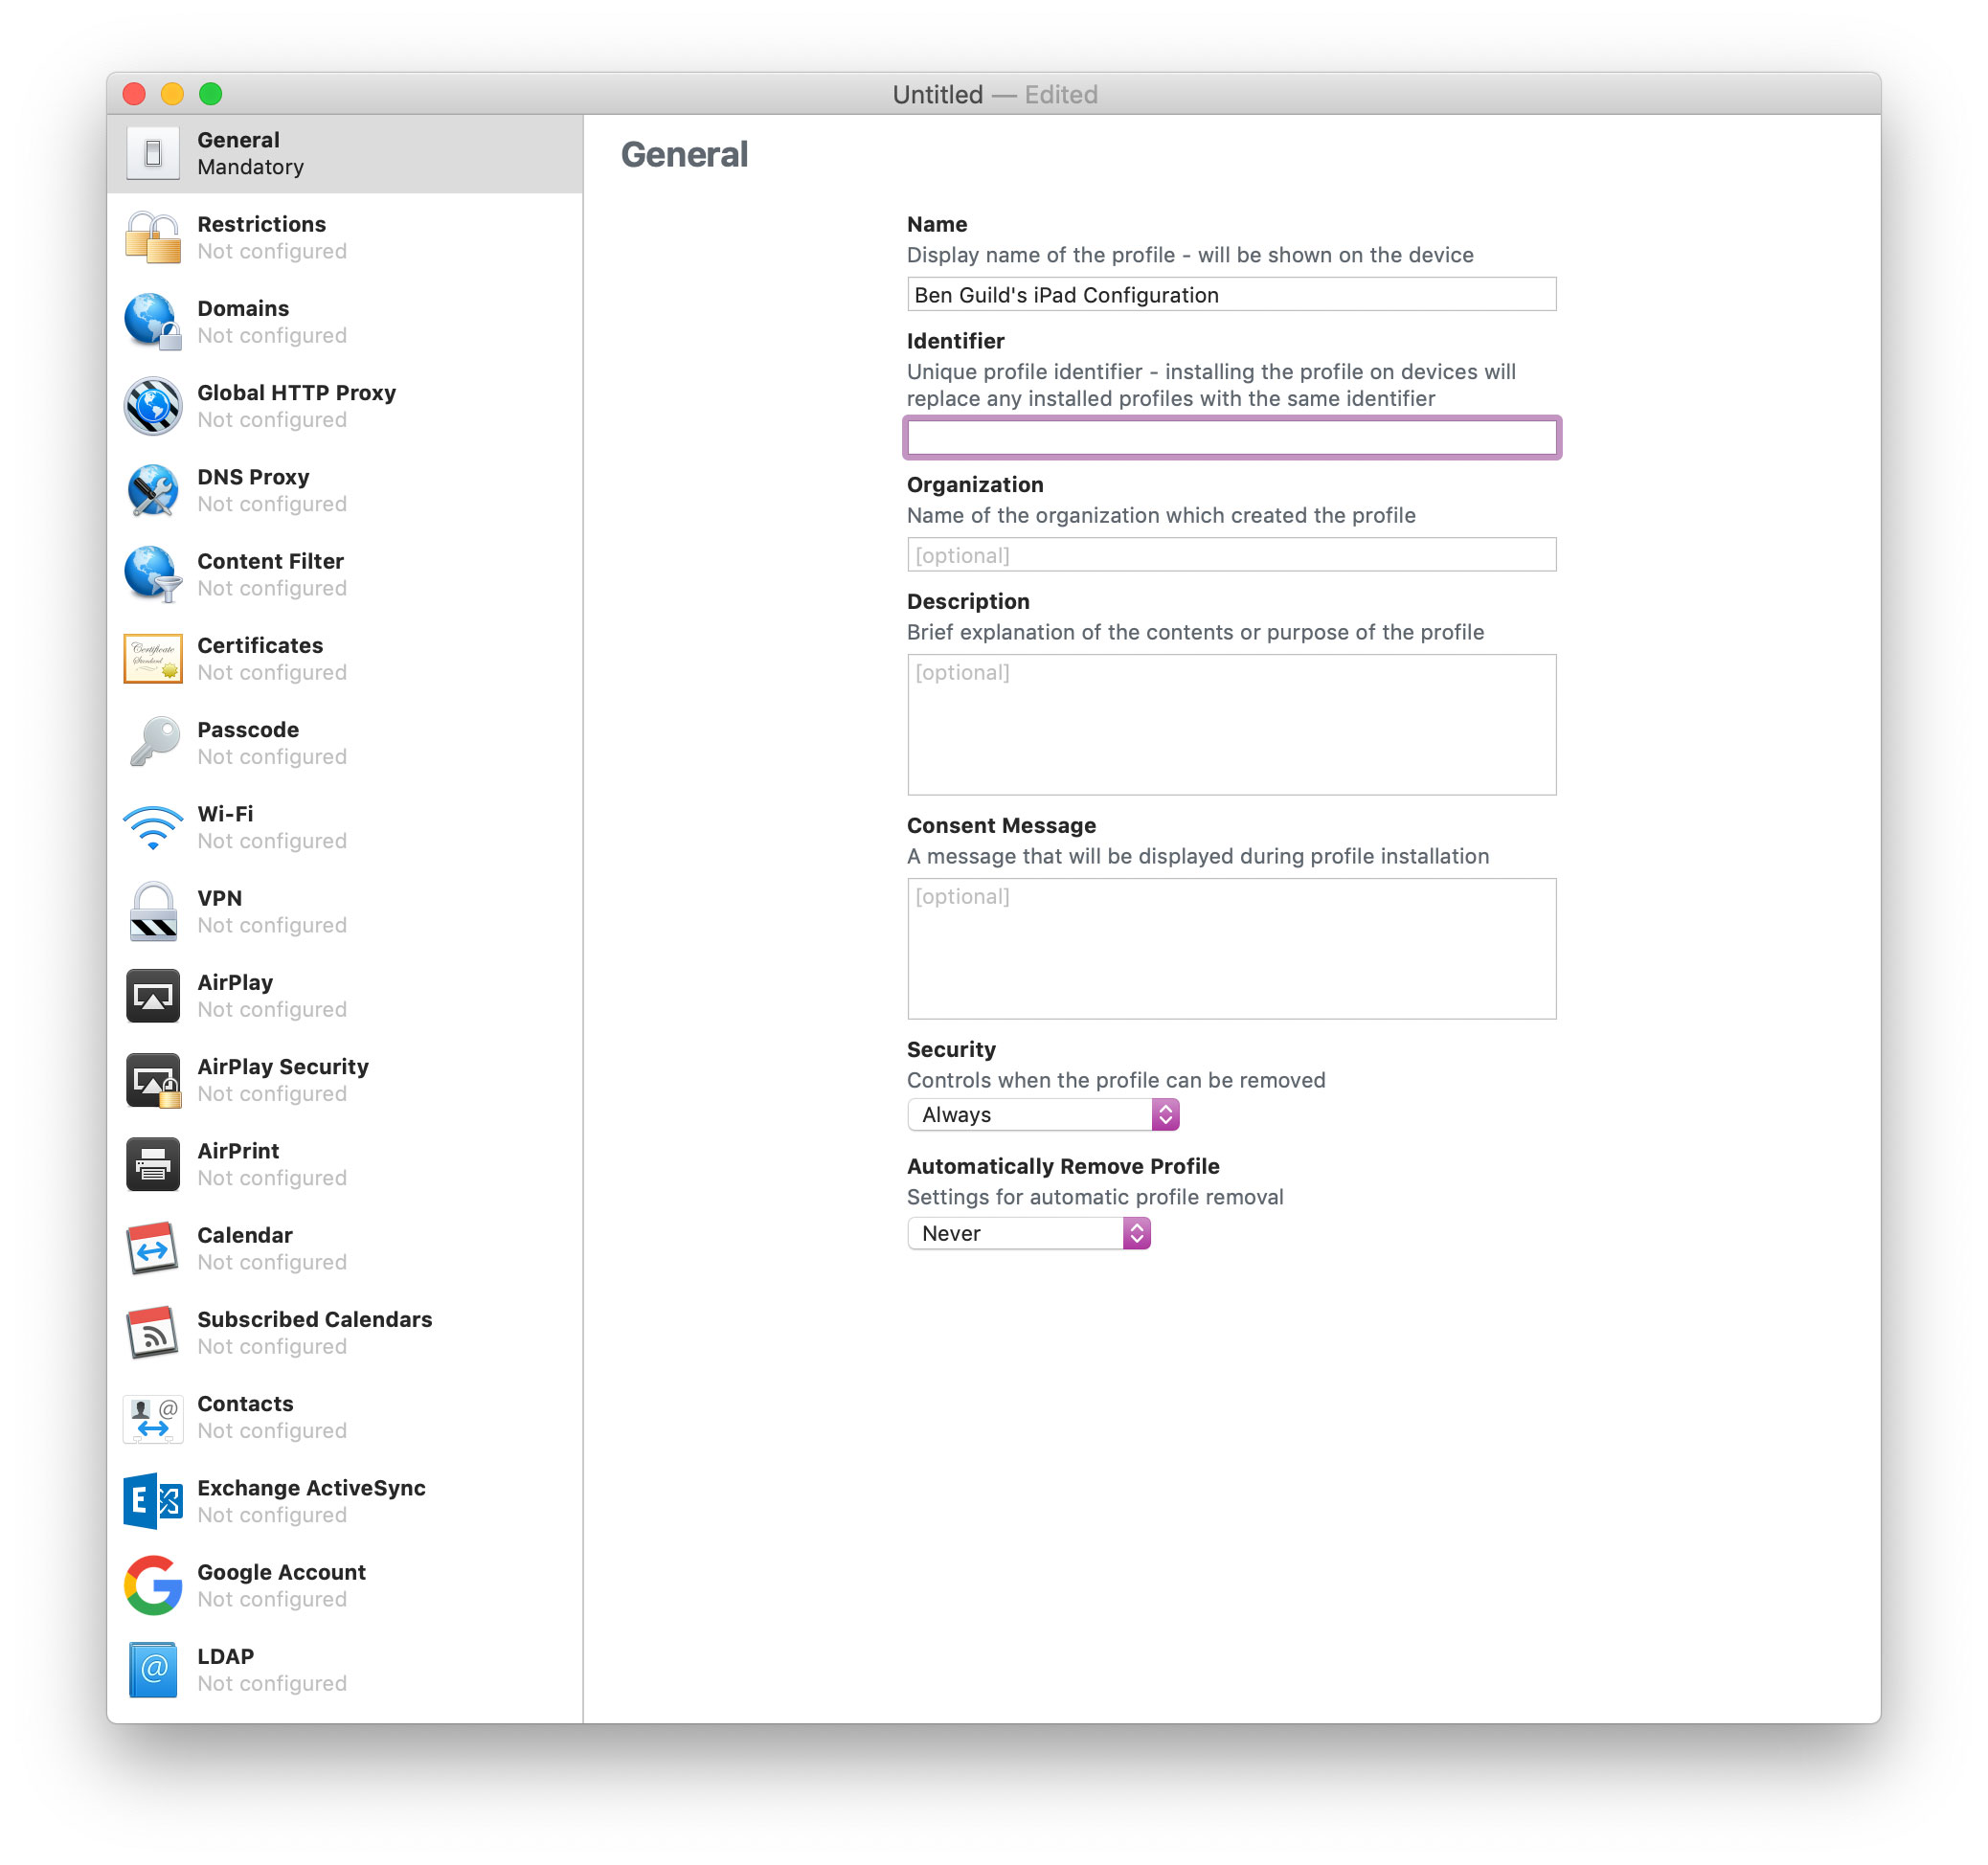
Once supervised, in the “File” menu of Apple Configurator, select the “New Profile” option, and then give the profile a name and unique identifier:
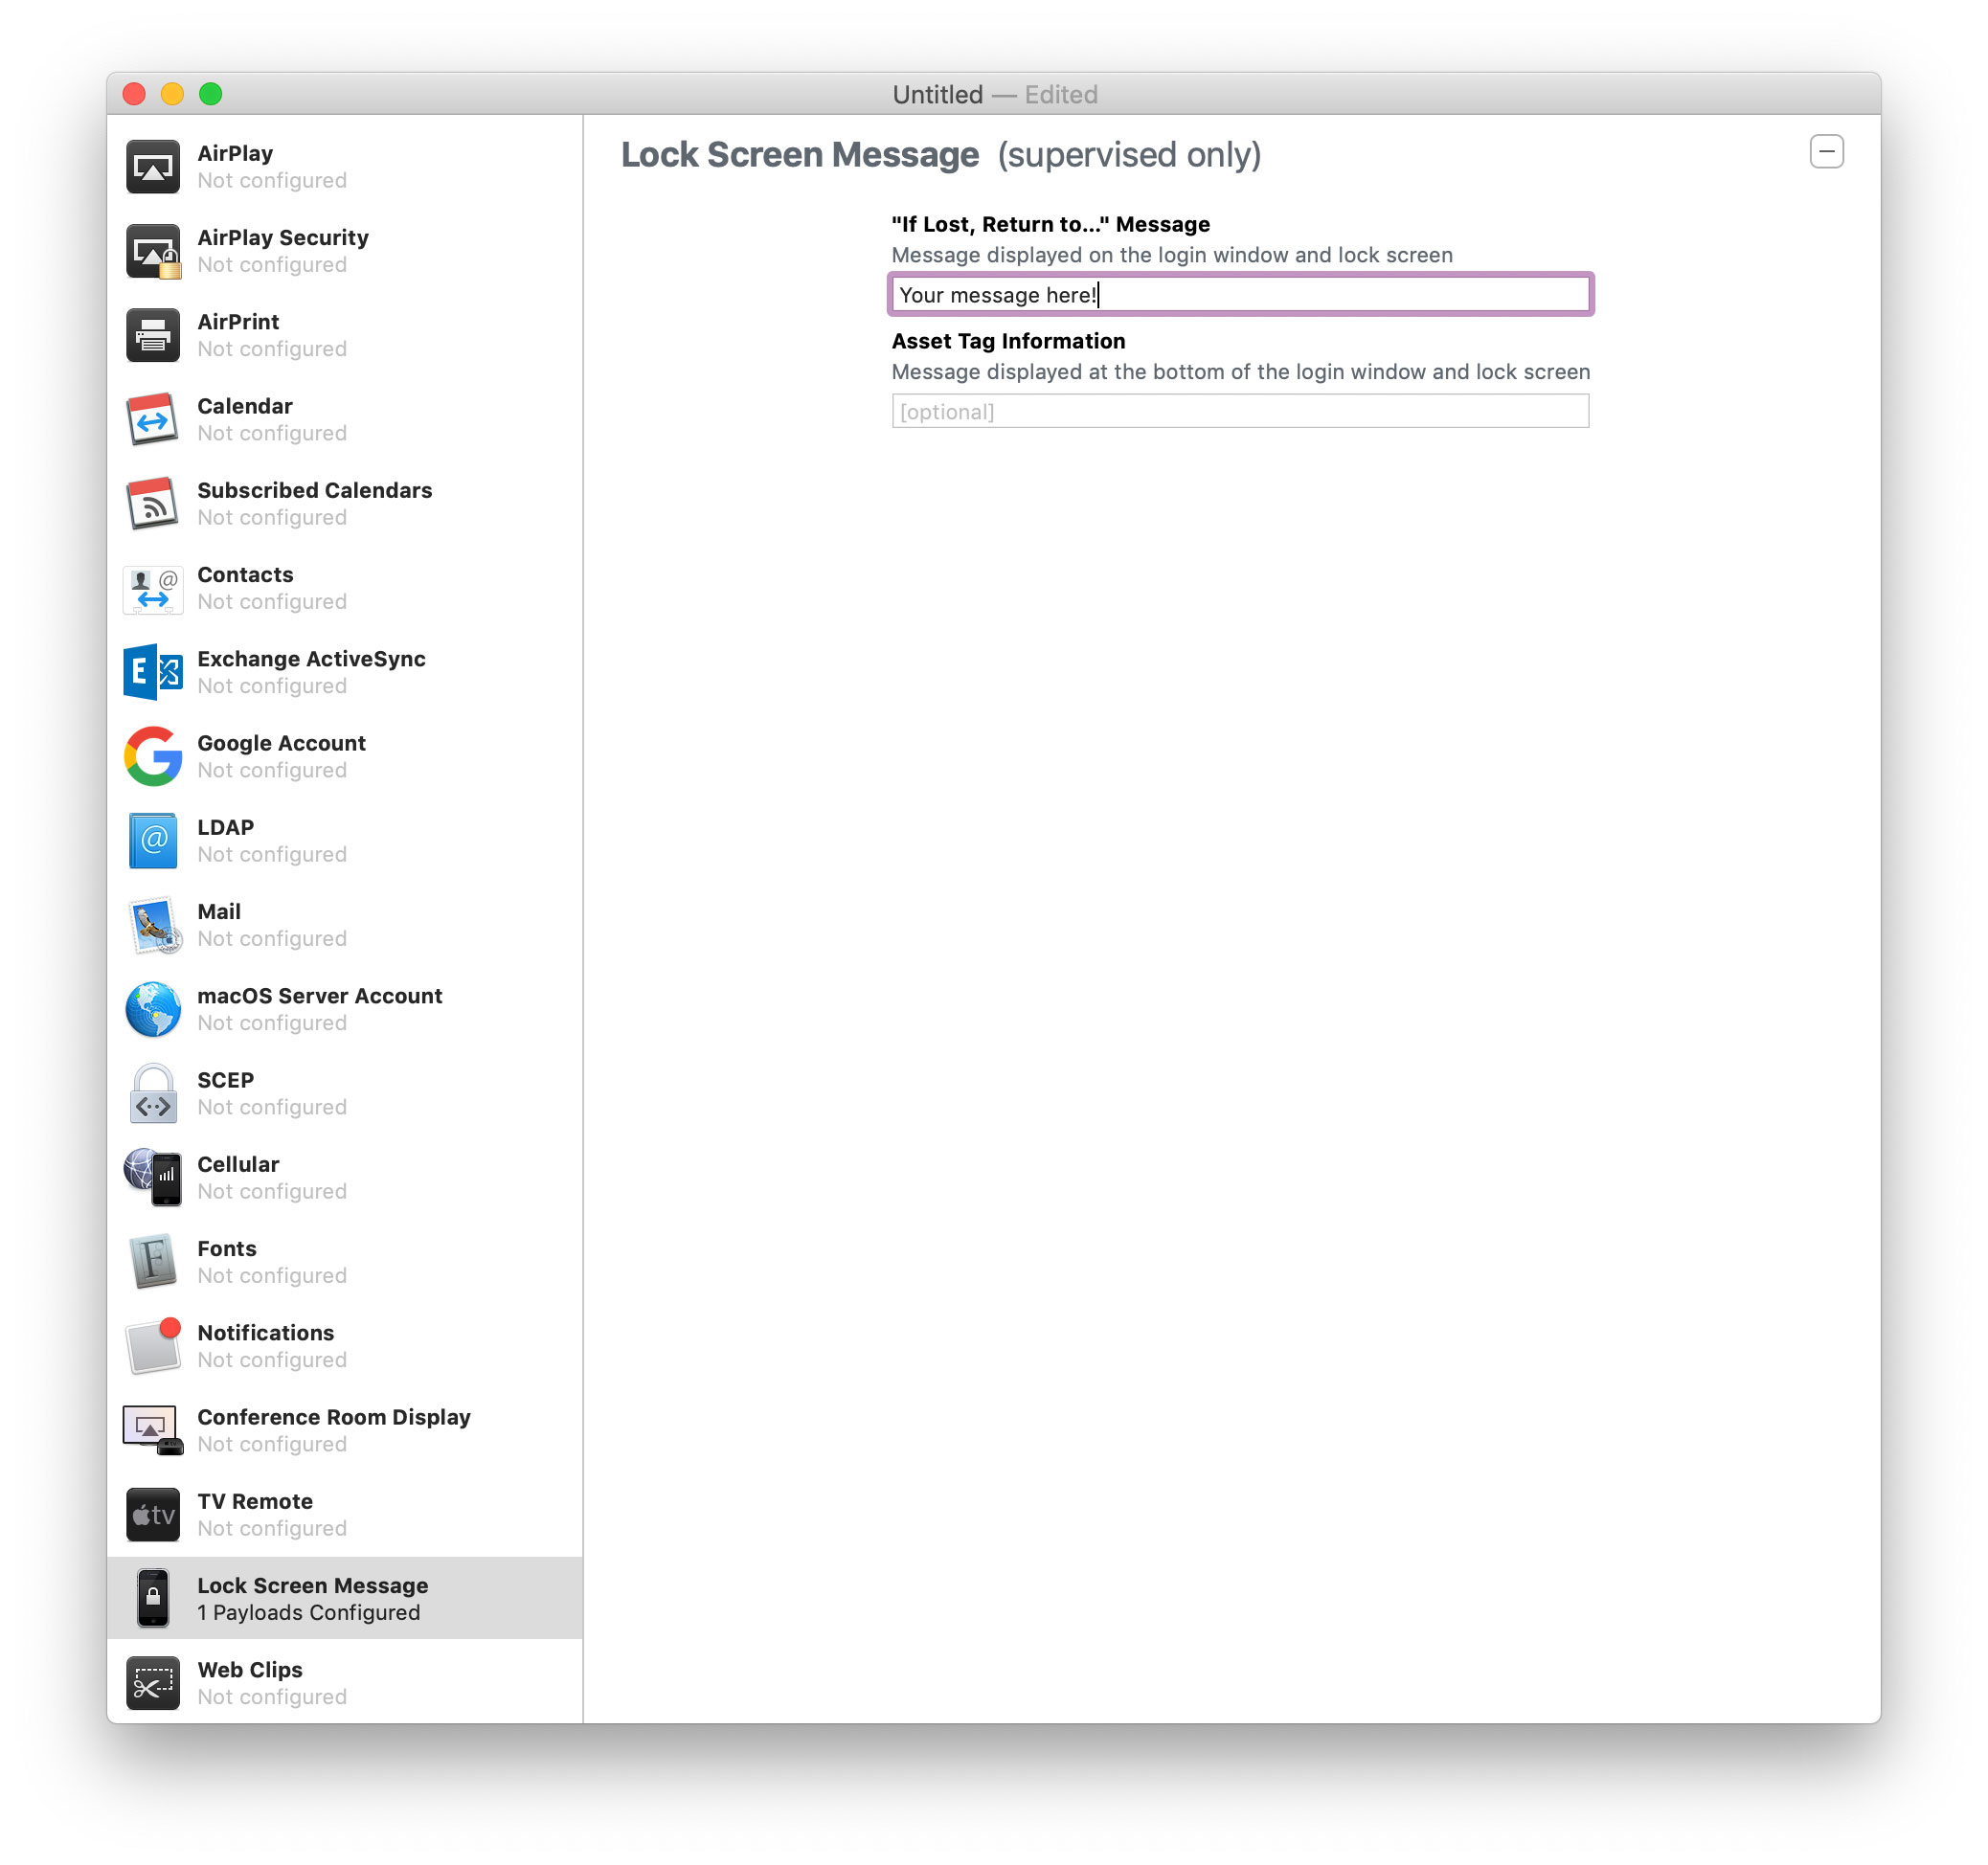
Afterward, edit the “Lock Screen Message” section as you please:
… Finally, save the profile somewhere handy on your computer. 💾
Step 5: Install the profile to your supervised device
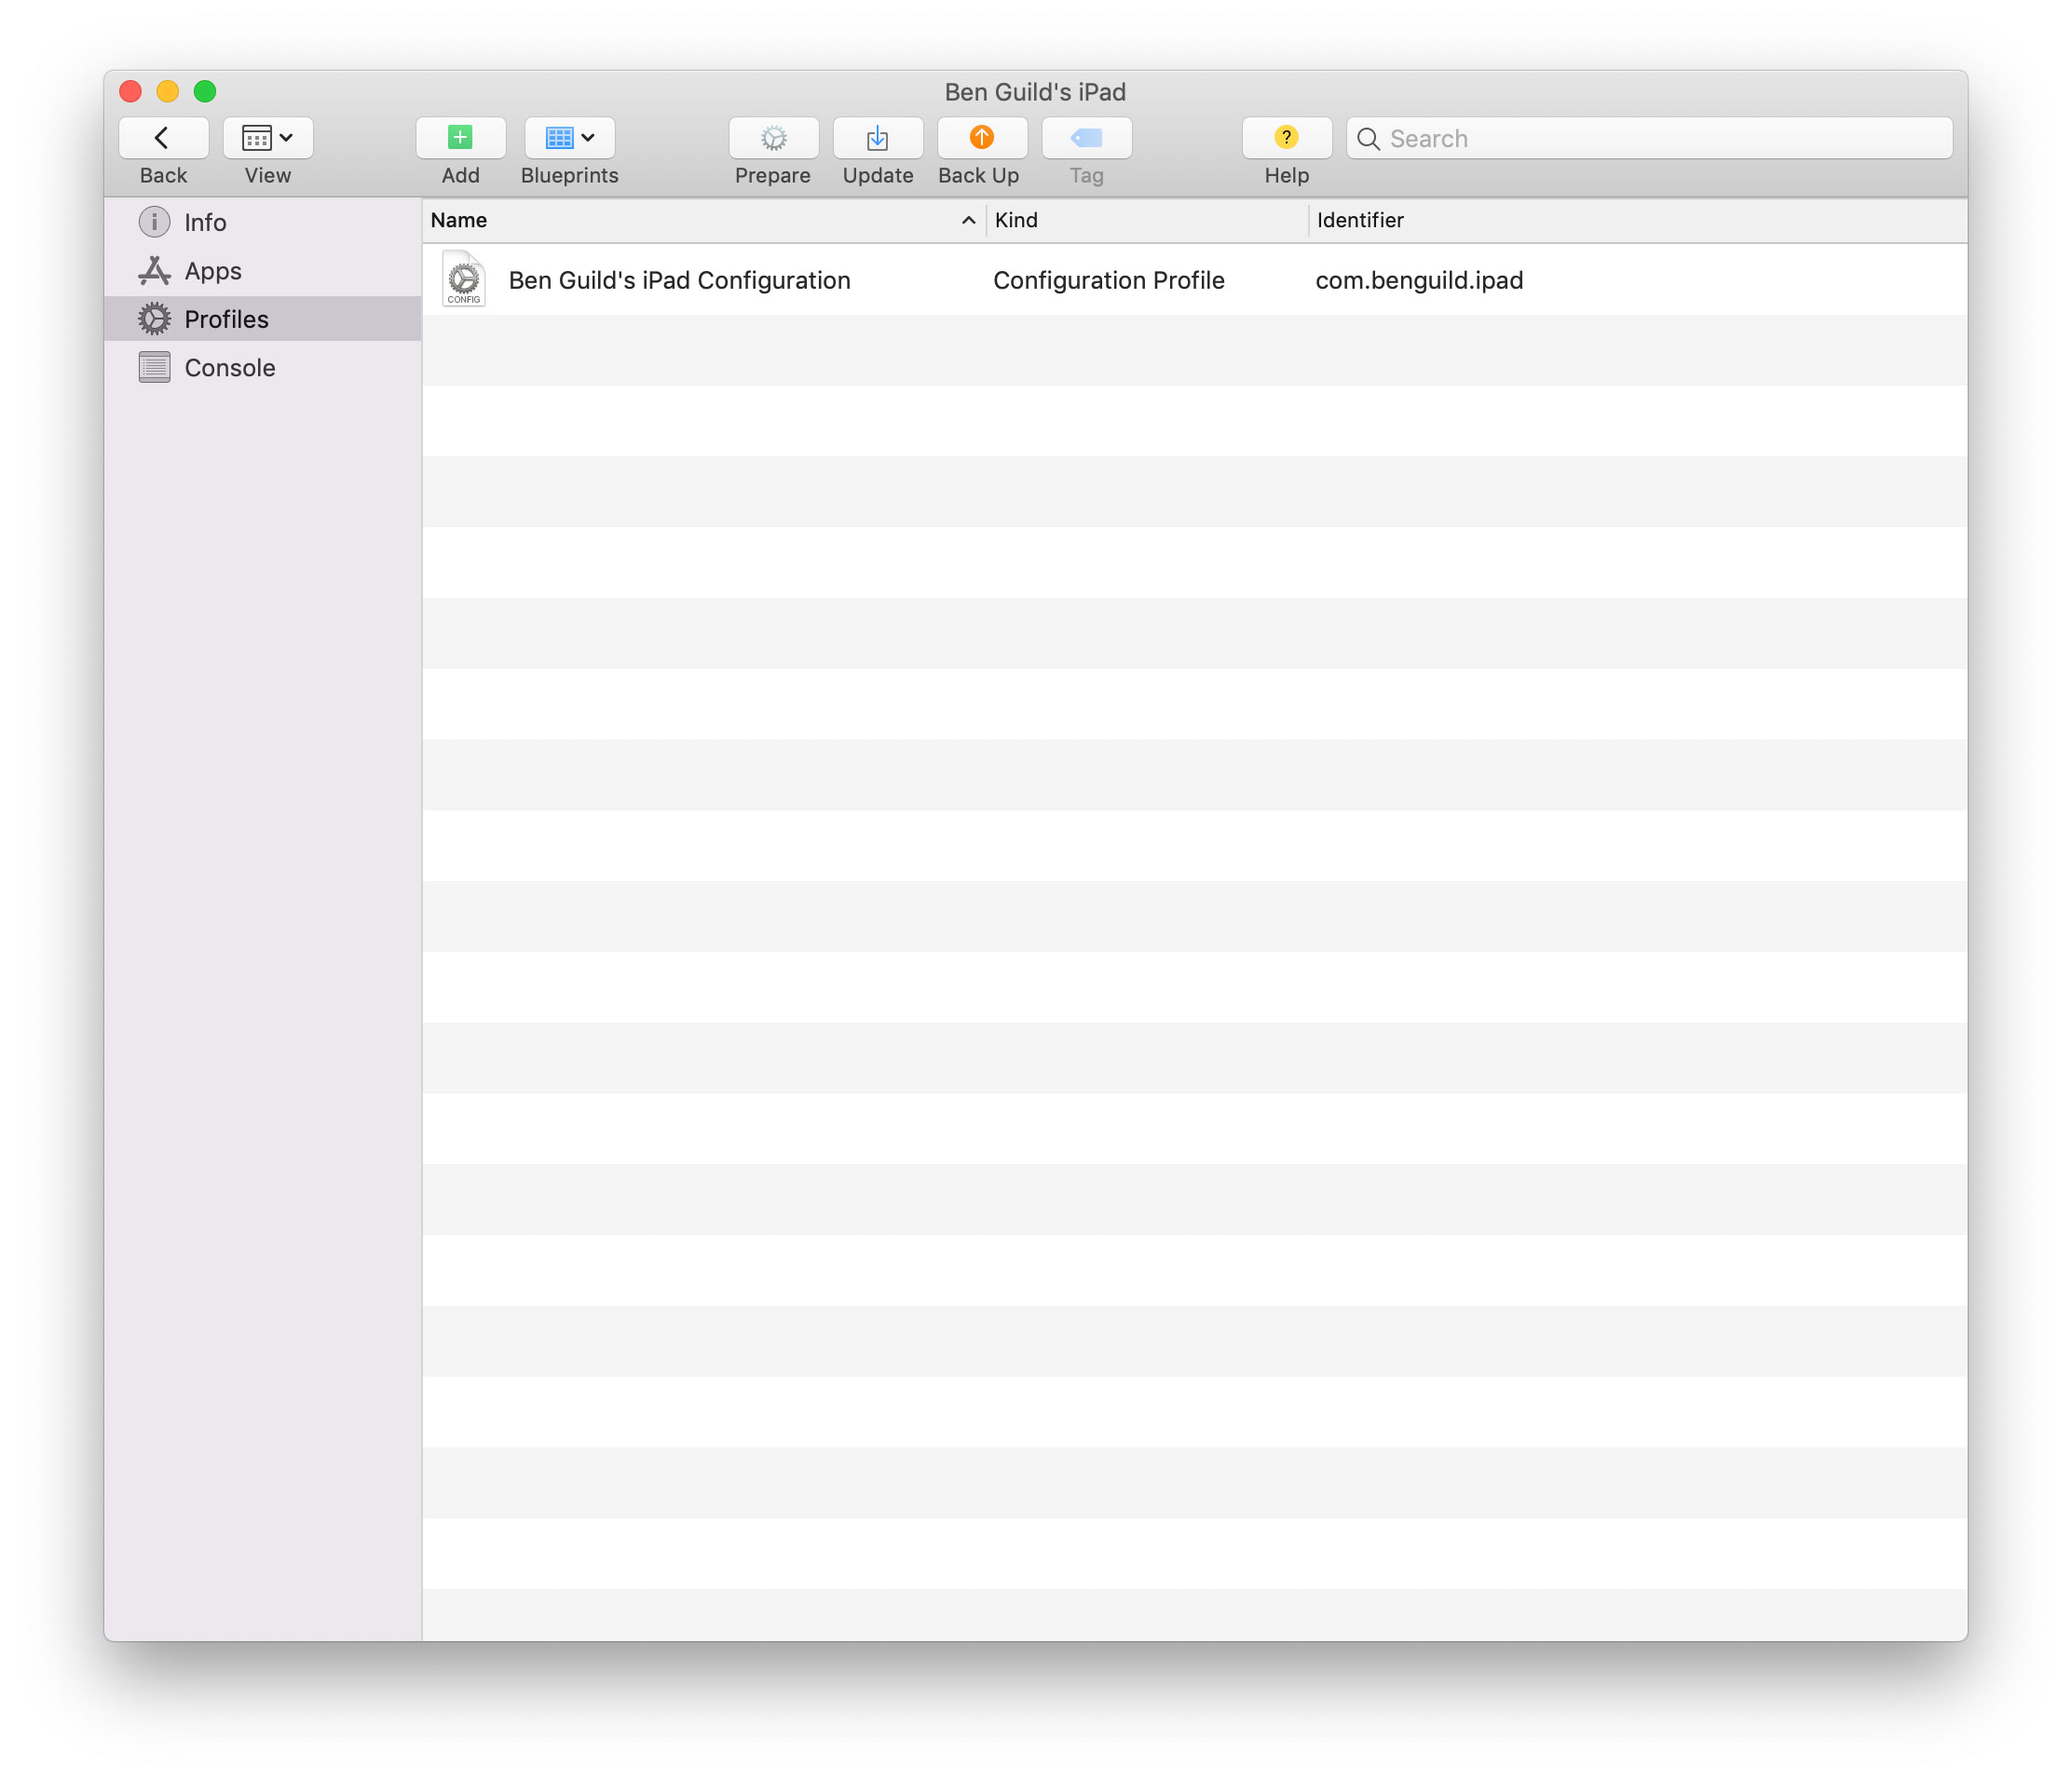
When you've finished creating the profile, just add it to your supervised iOS device from the main screen of Apple Configurator:
You'll be able to add or remove any lock screen profile in the future on this device without having to erase it (since it's already supervised), in case you want to change the message later on. 👍🏻
… And, that's it! Enjoy being one of the few with a native lock screen message on iOS. 😄